Creating Quotations
Switching on the quotation function in Quant
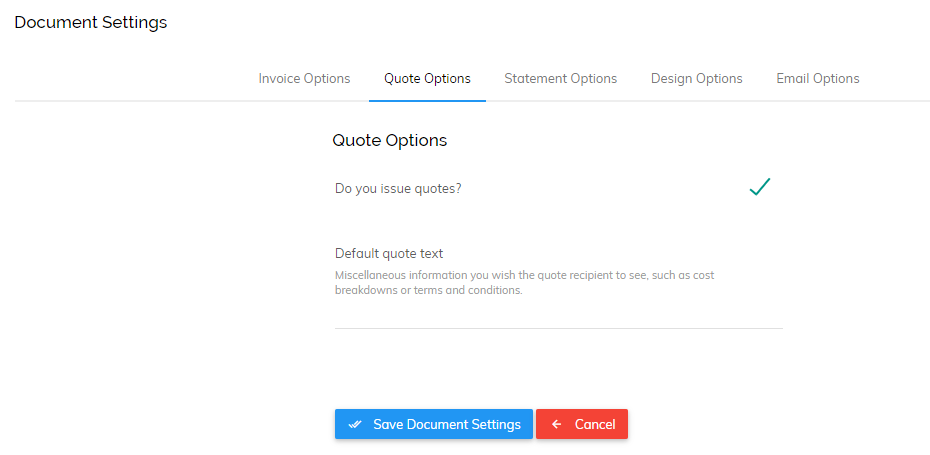
To switch on your quotations in Quant, head to Document Settings > Quote Options. From here you can switch on quotations and specify the default text at the bottom of your quotes when you create them. This can be overwritten at the point of creating a quote if needed.
Setting your template
Once you have switched quotes on you can then set your template. This is the same design used for your invoice, so if you have set up your invoicing already you can skip this step.
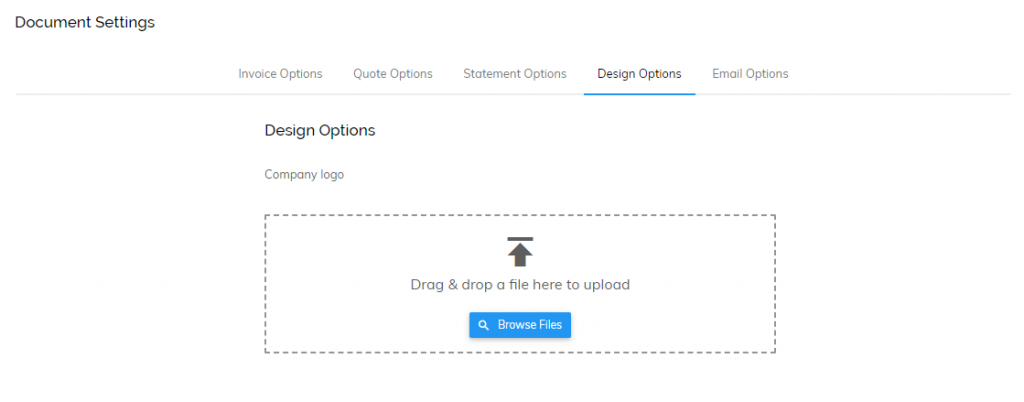
In the same menu, select ‘Design Options’. From here you can upload your company logo which will appear on your quotations.
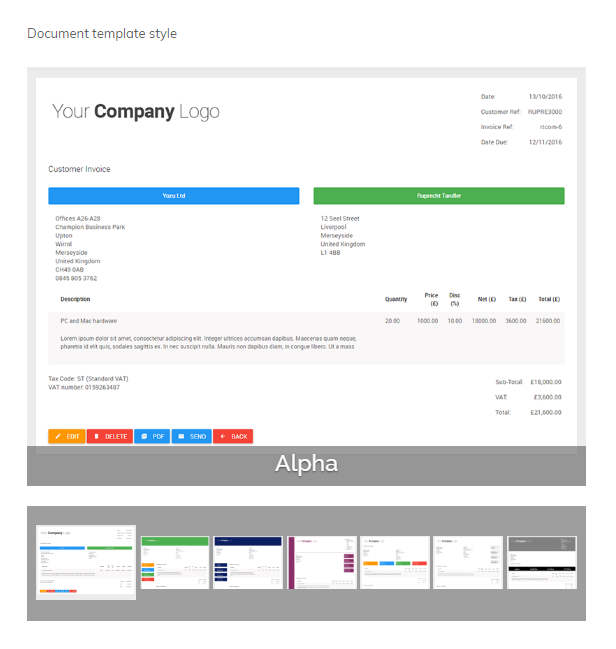
You can also select the template you would like to use:
Creating quotations
Now that you’re set up it’s time to create your first quote. Head to Enter Transactions > Customers > New > Quote:
![]()
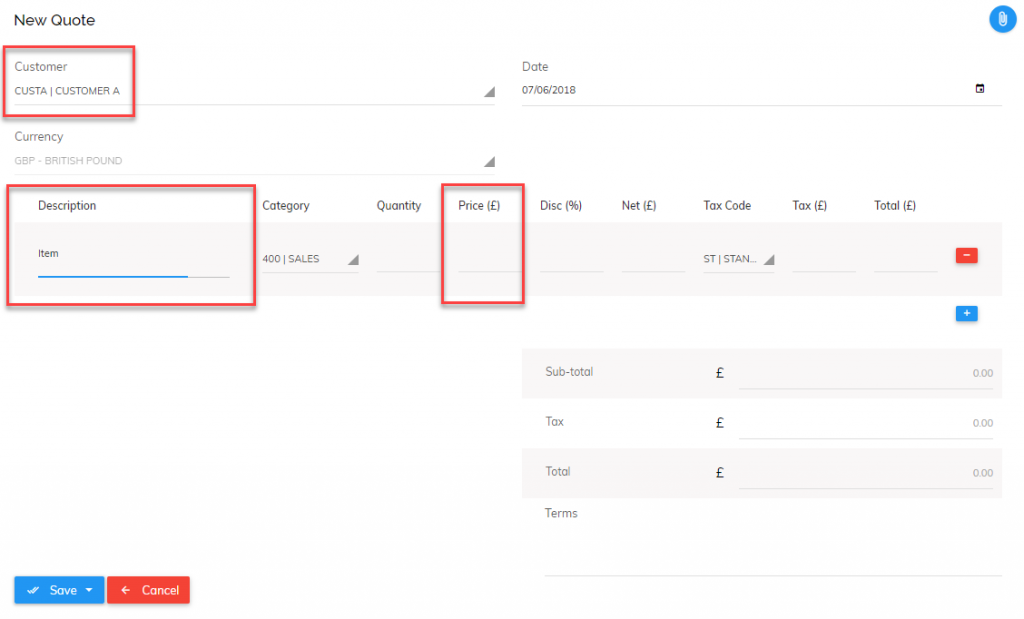
You will then be presented with a form to enter the quotation details. Select the customer name (you can add one here if the correct customer is not in the list), a description and the amount. If you want to mention units such as hours, days, items etc. then this can be added in the invoice settings.
Once you have entered the quotation details you can click:
Save and next: saves the quote and starts a new one.
Save and view: gives further options such as converting the quote into a PDF or sending the quote to your customer.
Save and finish: saves the quote and quits.
Viewing your quotes
To view your quotation go to Enter Transactions > Customer Tab > View > Quotes.
This will present you with a list of all of the quotes you have created. You can then:
- Mark the quote as accepted
- Mark as declined
- Convert the quote into an invoice. Once you have done this you can then send the invoice to your customer.
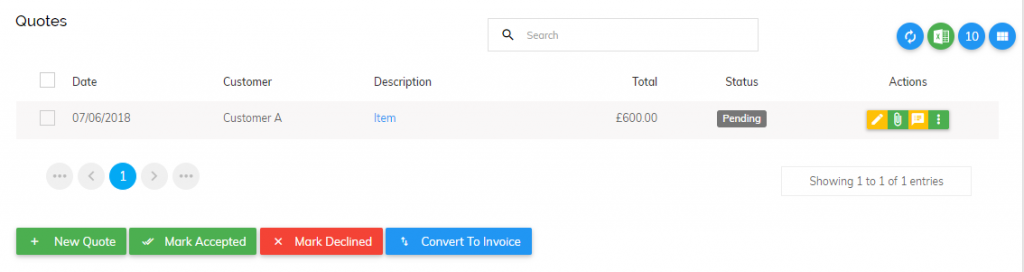
There are also action buttons on the right which allow you to quickly, edit, delete, print, send or convert the quote in PDF format.